Monday, July 29, 2013
Signature Metal - photoshop tricks


Use a gradient fill to the background as shown below


Use the Rounded Rectangle Tool (U) draw a rectangle with a kick size
370 × 240px, so radius is 15px

Blend Now it does, double click on the layer blending option to the table, we do
such as in the form


I will be

Now I typed it up, what words of your discretionary
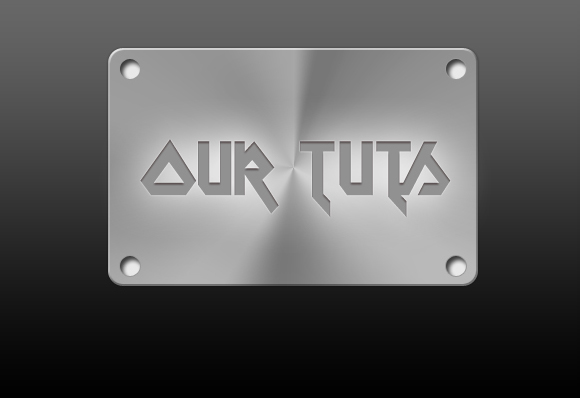
here I use the Metal Lord font (you can download here
http://www.dafont.com/metal-lord.font)
Kick-size 68px text, I write letters OurTuts

And I Blend for word, as the index


Now we have

Continue for it is, we do the 4 rivets in 4 corners
Use the Ellipse tool (press M) keep drawing shilf 1 small circle

Then Blend to nail it


And now we have

Ctrl + J to 3 or so more, adjust the angle of the remaining 3
1 Create a new layer using the brush tool, I used Grunge Brush (download here
http://darkrose42-stock.deviantart.c...ushes-52712543)
Ctrl click on the layer before metal

Fill the brush with background

Ctrl + E to merge several layers
Ctrl + j, the one-copy layer to Edit-> Transform-> Flip Vertical


Create layer for layer-copy mark, go to Layer-> Layer Mask> Reveal All
Use the Gradient Tool (G) pulled one way from the bottom up

The end result

Simple and easy to do, Goodluck
Subscribe to:
Post Comments (Atom)
No comments:
Post a Comment